How To Run Windows 7 on Android Phone: Hello friends, if you want to run windows 7 on android, you are at the right place. This post will provide you a complete guide on how to run windows 7 on android phone.
To do so, we need a Limbo emulator for android and also a windows 7 image or iso file. Don’t worry; all the links are provided for every file.
how to run windows 7 on android using limbo pc emulator
Contents
Step 1. Friends, first you have to download the Limbo pc emulator, So click on this link and you will be redirected to another website (4shared).
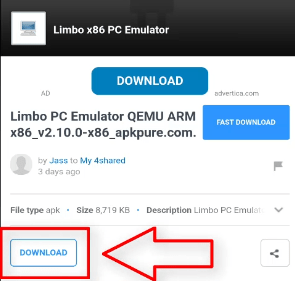
Step 2. Now you will see a download button under limbo pc emulator apk, but if you are unable to see the download button, sign in using your Google account. Then the button will appear. So, download the apk file.
Note: if the x86 version of limbo apk crashes on your android device, you can also try the x64 version of the limbo application. Both the versions of this app are added to the download folder.
Step 3. After download, click on the install button to start the installation; if you see the application installation blocked message, click on the got button.
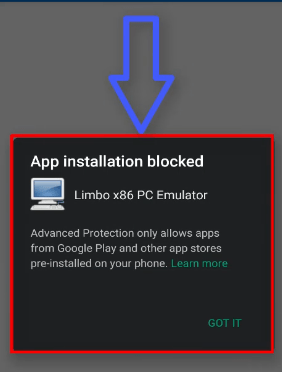
Now go to system settings>application manager>Google Play Store> now disable it, but you can enable it after this installation.
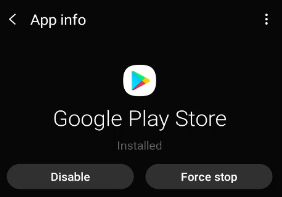
After that again try to install limbo apk and it will be installed successfully but don’t open it yet.
Step 4. Now you need a iso or img file of windows 7 to run windows 7 on android.
Click on this link to download that file. It will be sized around 1 to 1.8 GB in size.
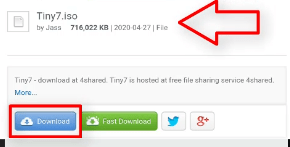
Step 5. After downloading iso file, it’s time to open limbo pc emulator.
Open it and allow all permissions such as storage, etc.
Step 6. Now we have to setup all settings to run windows 7 on android.
Let’ start:
Name of the Machine:
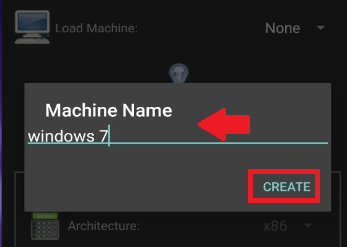
- First, click on None button at the top right side of the screen and select New
- Name it as Windows 7
CPU/BOARD:

- Architecture: select x86 bit
- Machine Type: PC
- CPU Model: Core Duo
- CPU Cores: 4
- RAM Memory: 1000 MB
Note: if your phone has low ram like 1-1.5 gb, you have to select low size of ram like 512 or lower size.
Storage:
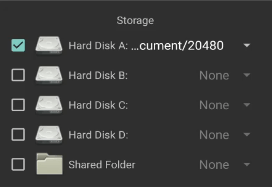
- Select Hard Disk A: Click on None and it will open your file manager. Now select the iso or img file of windows 7, that you have just downloaded.
Removable Storage:
No need to setup Removable Storage settings.
Misc:
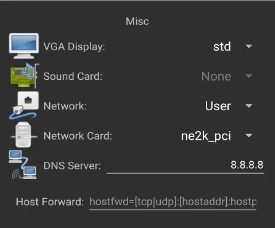
- VGA Display: here you have to select std option but if you are unable to see the running windows on emulator, you can try other settings as well like VMware.
- Sound Card: None
- Network: User
- Network Card: ne2k_pci
Boot Settings:
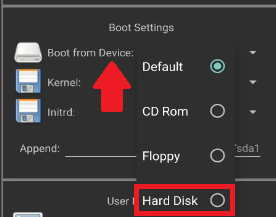
- Boot from Device: select Hard Disk option
- Kernel: None
- Initrd: None
User Interface:
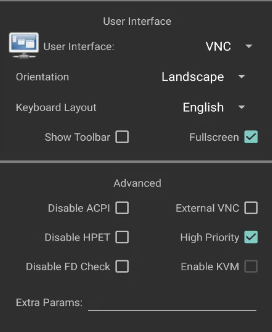
- User Interface: select VNC and you can also try other settings if the emulator failed to run.
- Orientation: select Landscape
- Keyboard Layout: English
- Fullscreen: you have to tick mark the fullscreen option
Advance:
- High Priority: you have to tick mark high priority setting, but this uses high ram and cpu. If your phone heats up, disable this option.
Now Limbo PC Emulator settings are done. Scroll up and now it’s time to start the emulator.
You will see a Play button, click on it and it will start windows 7.
Note: If the emulator crashed, just lower the ram and it will run properly.
Windows 7 setup and First Boot:
Step 7. Now you will see windows starting setup.
Here you have to select Start Windows Normally option.
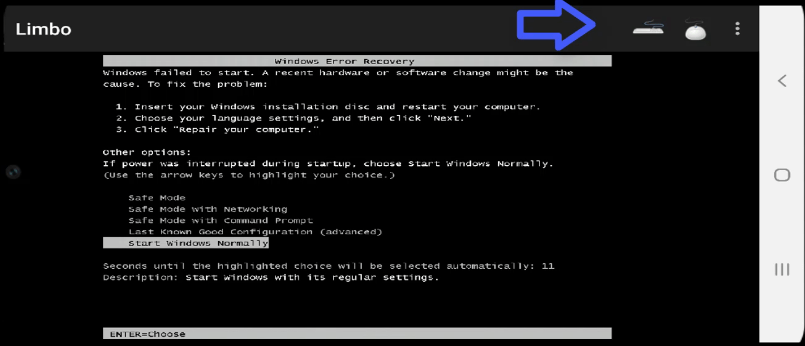
To select it:
- Press back key on your android phone.
- A new menu will pop-up above the screen
- Select the keyboard option
- Now press the enter key on keyboard
Step 8. Now wait until you see a booting screen and after that a user icon.
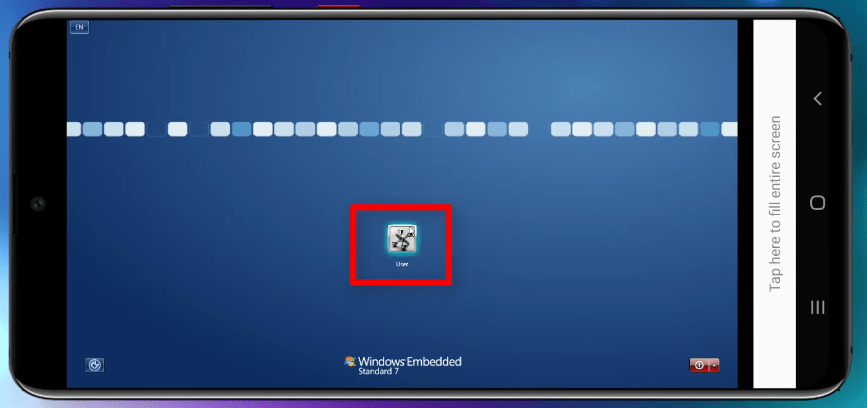
When you see a user icon, click on it.
Now you are successfully logged in to windows 7 on android emulator.
What you can do on windows 7 emulator on Limbo:
This is a light version of windows 7 and you will see less programs as compared to original windows for pc.
- You can connect a USB mouse via OTG cable.
- You can open and manage My Computer on it.
- You can open and access the control panel.
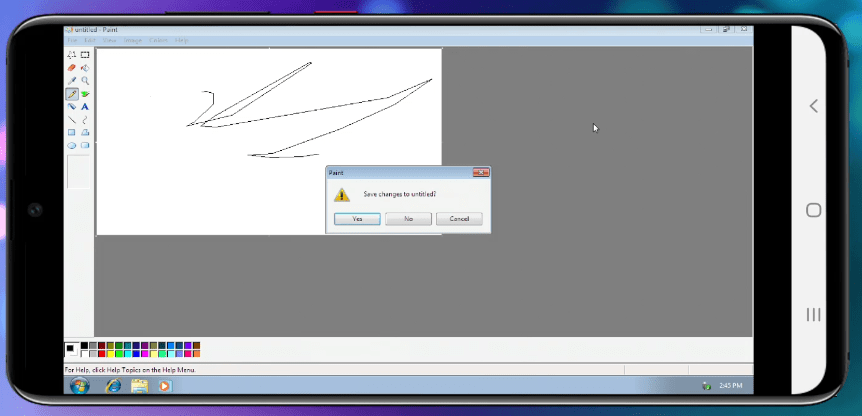
- You can Paint in it.
- You can access the internet in it.
How to check windows version
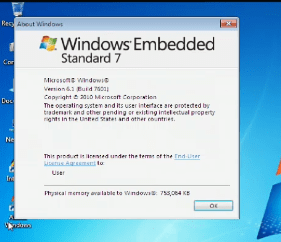
You can check windows version on this emulator easily. You will see a shortcut on the desktop names as About Windows, click on it.
Now you will see the version of this windows 7, as shown in the image below its Windows Embedded Standard 7.
So, Friends, I hope now you are able to run windows 7 on android. If not feel free to comment below, I will do my best to help you.


How can I set the internet to browse
Jasprit, thank you very much.How do i connect win7
Emulator to internet?
your welcome, I’ll soon update